
How to Use Live Luminosity Range Masks for Selection in Affinity Photo
Affinity Photo 2's Luminosity Range Masks are a powerful tool that allows you to create and edit masks based on the luminosity of your image. This can be particularly useful when you're working with landscape photography, as you can isolate specific luminosity ranges, such as the sky, clouds, or foreground, to apply different adjustments or effects.
Get my Beginner-friendly Quick Start Guide to Affinity Photo - for Free

An image from Queen Charlotte Sound, where I would like to add a little more Vibrance to the sky.
When or Where Should You Use Luminosity Range Masks:
Highlight the Clouds: Use Luminosity Range Masks to isolate the clouds and apply a brightening adjustment, making them stand out more against the sky.
Emphasize the Foreground: Mask the foreground and apply a contrast boost or color adjustment to bring it into focus.
Add Texture to the Shadows: Mask the shadows and apply a texture overlay, adding depth and interest to the image.
Luminosity Range Masks in Affinity Photo 2 provide a great tool for enhancing photos, enabling you to achieve precise control over specific luminosity ranges. You can use the masks for blending multiple exposures (like I show you in my advanced video course) or for limiting the effect of adjustment layers to only affect specific luminosity values in your image.

How Do You Apply a Luminosity Range Mask in Affinity Photo?
Step 1: Open Your Image
Start by opening your photo in Affinity Photo 2.
Step 2: Create a New Live Mask Layer
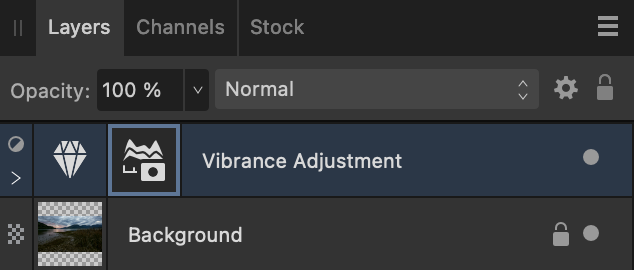
Before you create the Luminosity Range Mask, you should create an adjustment layer first. In this example, we will use Vibrancy Adjustment layer to create a more colorful sky.

Vibrance adjustment layer
Navigate to the "Layer" menu and select "New Live Mask Layer". In the "New Live Mask Layer" sub-menu, choose "Luminosity Range Mask" as the mask type.
Step 3: Adjust the Luminosity Map

The luminosity range mask map in Affinity Photo 2
The Luminosity Map graph has two points, black and white. These points represent the darkest (left) and lightest pixels in your image on the right side of the map. To isolate a specific range, drag either point along the graph accordingly.
For instance, to isolate the sky, you would drag the black point down, while for the foreground, you would drag the white point up.
You will likely have to add an extra point in the highlights or midtones to make a curve in the graph. This allows you to create a more precise mask of the values you want to include in the luminosity range mask.

Step 4: Preview and Refine the Mask
The "Preview" checkbox allows you to visualize the mask in black and white, enabling you to see which pixels are being affected by the mask. The "Opacity" slider lets you adjust the strength of the mask, while the "Invert" button reverses the mask's effect.
Use the "Refine" brush to fine-tune the mask by painting directly on the image.
Alternatively, you can also click on the luminosity mask in the layers panel, and use a standard white or black brush to add or subtract from the layer masks, like you normally would. When you are finished with masking, just click on the thumbnail for the pixel layer or for the adjustment layer to exit the mask view.

Step 5: Apply Adjustments to Specific Luminosity Ranges
With the Luminosity Range Mask in place, you can limit adjustments to specific luminosity ranges. For example, you could brighten the sky without affecting the foreground or darken the shadows without changing the highlights.
As I mentioned, I start with an adjustment layer and then add the luminosity range mask in Affinity Photo to that adjustment layer.
What are the Differences Between Luminosity Range Masks and Blend Ranges in Affinity Photo?
Live luminosity Range Masks and Blend Ranges in Affinity Photo 2 serve similar purposes of blending and manipulating different elements in an image, yet they differ in their functionality.
Live luminosity masks are dynamic and adjustable masks that are created based on the brightness values of the image. They allow photographers to selectively target specific tonal ranges and produce precise adjustments. With live luminosity masks, you can easily isolate highlights, midtones, or shadows, giving you greater control over the luminosity of their images.
On the other hand, blend ranges in Affinity Photo 2 offer a more traditional and manual approach to blending. They allow photographers to define specific ranges of tonal values and apply specific blending modes within those ranges.
While blend ranges offer more flexible and hands-on control over blending, I prefer the visual feedback I get from live luminosity range masks. Both tools are valuable assets in the photographer's toolbox, each offering a unique set of advantages when it comes to creative editing in Affinity Photo 2.
Concluding words
Try to play around with using Luminosity Range Masks, whenever you want to enhance the sky or a dark foreground in your images. It is a powerful tool and is a really fast approach compared to other selection methods.