
How to Use Quick Mask Mode in Photoshop?
You can use the quick mask tool in various image editing situations to help create and modify selections. This selection tool temporarily transforms the selected area with a semi-opaque red overlay, which will let you see the selected and non-selected areas.
Adobe Photoshop's Quick Mask comes with effortless usability, and you can learn about its using aspects throughout this Photoshop tutorial.
Get my eBook: 25 Techniques all Photographers Should Master - for Free
What is the Quick Mask Tool in Photoshop CC?
It is a super quick tool that helps to create and edit selections over objects speedily. When it’s about editing certain parts like curved and straight edges, a quick mask can help select those rapidly. You’ll not need to be super precise while selecting anything since a quick mask creates a complex mask with visible opacity.
Anybody can easily use this time-saving tool to select things efficiently. You can use quick mask mode for editing purposes, and it’ll boost your workflow and productivity.
How to Use Quick Mask in Photoshop
You may notice that the regular selection tool to select any parts of photos generally takes plenty of time. In that case, the quick mask tool might be helpful to you. Quick Mask will work with the help of many other editing tools of Photoshop. Here we’ll show you how this works
Step 1: Open the File
Open Photoshop CC and select the file you want to open, or you can directly drag and drop the photo on Photoshop.
(Step 2: Make a Rough or Basic Selection)
Before using the quick selection tool, it’ll be far better to use conventional selection tools to make an initial selection. You can use selection tools like:
Quick Selection Tool
Magnetic Lasso Tool
quick selection brush
You can use any selection tools to select or mark the area you generally want to define. However, we prefer using the Quick Selection Tool to get an efficient result. You should never worry about fine-tuning your selection because the Quick Mask will do the rest.
Step 3: Enhance the Selection Using the Quick Mask Tool
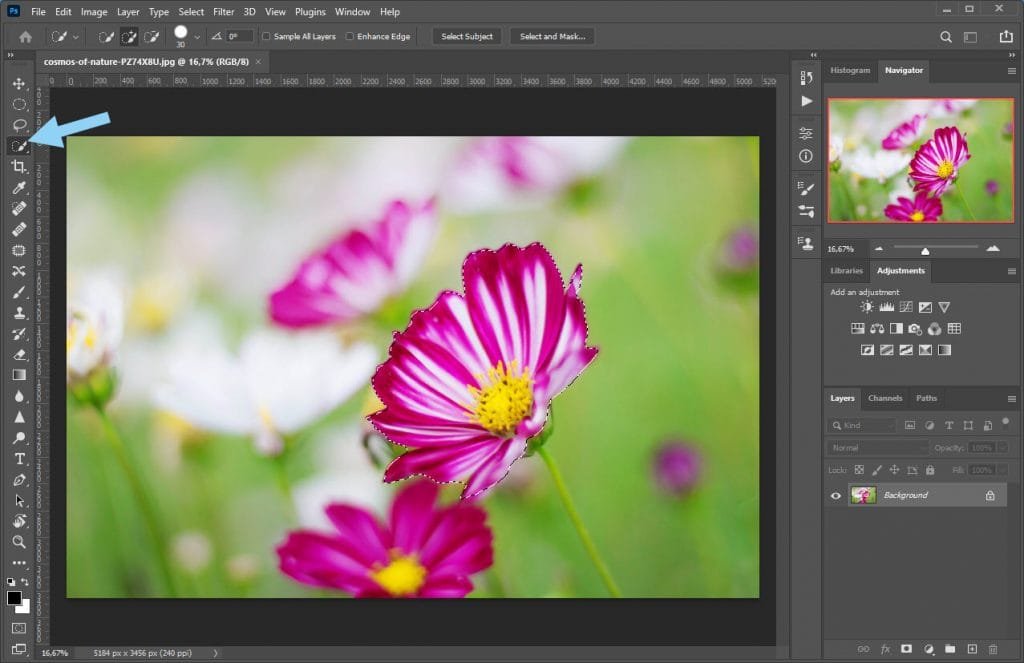
You can open the quick mask tool from the tool panel, or you can simply press the keyboard shortcut Q to enter quick mask mode.
quick mask icon in toolbar
After enabling Quick Mask Mode the selected areas of the image turns red.

quick mask mode enabled
Next, select the Brush Tool (B) from the toolbox to paint over the selected area to fine-tune.
Adjust the brush size based on your preference, or you can use the zoom-in option. Then, when you paint over the selected area, the quick make mode will turn the selection into a mask.

brush to include more areas
Some areas weren't included by the Quick Selection Brush. You can manually add them to the selection in Quick Mask Mode.
In Quick Mask Mode, try to remember the following principles, using the brush painting tool
Brushing or painting with black color will add to the mask
Paint with white color to erase the red overlay
(Step 4: Enhance edges with the Refine Edge Tool)
After painting over the selected area, you now have to use Erase and refine edge tools, if you are working with very difficult edges. On the other hand, the refine edge tool will help to improve the selection borders.
Step 5: How to Exit Quick Mask Mode in Photoshop
Once the image edge removal and refining process is done, it’s time to get out of the quick mask mode. Some users find it difficult in Photoshop to exit quick mask mode. However, you can:
Go to the Toolbar and click the quick mask icon again to switch to standard mode,
Or you can simply press the Q button from the keyboard.
After exiting the quick mask mode, the overlay will disappear, and a selection outline with marching ants will appear. You are now ready for your next editing activities with your selection.

How to Change Photoshop's Quick Mask Color?
If you double-click on the Quick Mask Mode button in the Toolbar, the Quick Mask Options dialog appears.
Here you can choose whether the color overlay should indicate masked areas or selected areas. This is also where you can change the overlay color of the quick mask, and the opacity of the overlay.

quick mask options
Related Photoshop articles:
Final Thoughts
The selection process is particularly used for selecting any portion for editing or modifying. Among many selection tools, a quick selection tool will help to create a selection more efficiently. For example, it will let you highlight any selection border through a transparent red color.
We have shown you the easiest way that you can follow to perform your selection-related activities with a quick mask tool. You have also learned how to get out of quick mask mode in Photoshop, so you can continue working with the selection.